Master Homemade Cold Brew: Your Easy Path to Smooth Coffee, No Fancy Equipment Needed
Tired of watery, bitter iced coffee or expensive daily trips to the coffee shop? Imagine waking up to a ready-to-pour, incredibly smooth, and less acidic coffee concentrate just waiting for you. This dream is not only achievable but surprisingly simple with our guide to the
perfect cold brew coffee recipe. Forget the elaborate gadgets and intimidating techniques; we’re here to show you how to master homemade cold brew using basic kitchen items, guaranteeing a delicious cup every single time. Get ready to transform your coffee routine and savor every sip.
Cold Brew vs. Iced Coffee: Understanding the Delicious Difference
Before we dive into the brewing process, let’s clear up a common misconception: while all cold brew is iced coffee, not all iced coffee is cold brew. Understanding this distinction is key to appreciating the unique qualities of your homemade concentrate.
*
Cold Brew Coffee is a distinct brewing method where coarse coffee grounds are steeped in cool or room-temperature water for an extended period, typically 12 to 24 hours. This slow, low-temperature extraction process yields a coffee that is significantly less acidic, remarkably smooth, and often possesses a naturally sweeter flavor profile. It's typically made as a concentrate, which means you dilute it with water or milk to your desired strength before serving.
*
Iced Coffee, on the other hand, is generally brewed using hot water, just like your regular morning cup, and then poured over ice. While refreshing, this method doesn't inherently reduce the acidity of hot-brewed coffee. The rapid chilling can sometimes lock in more of the brighter, sharper notes, which some find appealing, but others find too intense or even bitter when cold.
The primary benefit of cold brew lies in its gentle extraction. Hot water tends to pull out more of the oils and acids from coffee grounds, which can lead to bitterness. Cold water, however, extracts flavors more slowly and selectively, resulting in a brew that’s inherently smoother and easier on the stomach for many. This fundamental difference is what makes a homemade cold brew a game-changer for iced coffee lovers. To learn more about this fascinating contrast, check out our detailed guide:
Cold Brew vs. Iced Coffee: Make Smooth, Less Acidic Coffee at Home.
Essential Ingredients and Equipment: Keeping it Simple
The beauty of mastering homemade cold brew is that you truly don't need any specialized or expensive equipment. Your kitchen probably already holds everything you need to create your
perfect cold brew coffee recipe.
The Star Ingredients: Coffee and Water
- Coffee Beans: This is where quality really shines. While you don't need the most expensive beans, opting for freshly roasted, whole beans will make a noticeable difference.
- Roast Level: The choice is entirely yours! Light, medium, or dark roast – the cold brew process will smooth out the edges of any roast, bringing forth its inherent flavors. If you prefer a bolder, chocolatey profile, go dark. For more nuanced, fruity, or floral notes, a light or medium roast will work beautifully.
- Grind Size: This is perhaps the *most crucial* factor for a successful cold brew. You need a coarse grind, similar to sea salt or breadcrumbs. A fine grind will lead to over-extraction, bitterness, and a muddy, difficult-to-filter concentrate. If you have a burr grinder at home, set it to its coarsest setting. Otherwise, ask your local coffee shop to grind your beans for French press.
- Water: Since water makes up the vast majority of your cold brew, its quality matters. Use cold, filtered water for the best results. Tap water, especially if it has a strong chlorine taste, can negatively impact your coffee's flavor.
Bare-Bones Equipment List
- A Large Container: A one-quart or half-gallon Mason jar is ideal, but any pitcher, large bowl, or food-grade container with a lid will work.
- Stirring Utensil: A long spoon or spatula to ensure all grounds are saturated.
- Fine-Mesh Sieve: For the initial strain to remove most of the coffee grounds.
- Coffee Filters or Cheesecloth: For the second, finer filtration. You can use standard paper coffee filters (cone or basket style), a few layers of cheesecloth, or even a reusable cloth filter.
- Another Container for Filtering: A bowl or another jar to collect your filtered concentrate.
The Perfect Cold Brew Coffee Recipe: Your Step-by-Step Guide
Ready to brew? Follow these simple steps to create your own smooth, rich cold brew concentrate.
Step 1: Grind Your Beans (Coarsely!)
As mentioned, this step is paramount. Measure out your coffee beans and grind them to a coarse consistency. If grinding at home, avoid the temptation to go finer. If buying pre-ground, ensure it's specifically for French press or cold brew. For a standard Mason jar (approx. 1 liter or 4 cups), you'll typically need around 1 cup (about 85-100 grams) of coarse grounds.
Step 2: Combine Coffee and Water (The Golden Ratio)
The ratio of coffee to water is personal, but a great starting point for a concentrate is generally 1:4 to 1:8 coffee to water by weight. For ease of use with volumetric measurements, a common and highly recommended ratio is
1 cup of coarse coffee grounds to 4 cups (1 liter) of cold, filtered water.
- Add your coarse coffee grounds to your large container.
- Slowly pour the cold, filtered water over the grounds.
- Gently stir the mixture with your spoon to ensure all coffee grounds are fully saturated. This is important for even extraction. Don't overmix; just ensure no dry spots remain.
Step 3: The Steeping Process (Patience is a Virtue)
This is where the magic happens!
- Cover your container with a lid or plastic wrap.
- Let it steep. You have two main options:
- Room Temperature: For 12-18 hours on your kitchen counter. This often results in a slightly faster extraction and a robust flavor.
- Refrigerator: For 18-24 hours (or even up to 36 hours). Steeping in the fridge slows down the process, potentially leading to a slightly cleaner, more delicate flavor.
- While 12 hours is a good minimum, many find 18 hours to be the sweet spot for a well-rounded flavor. Experiment within this range to find your preferred intensity.
Step 4: Double Filtration for Clarity
Once your steeping time is complete, it's time to separate the liquid gold from the grounds.
- First Strain (Coarse): Place your fine-mesh sieve over a clean bowl or another large container. Carefully pour the entire coffee mixture through the sieve. This will catch the majority of the large coffee grounds. Resist the urge to press or squeeze the grounds, as this can force fine particles and bitter oils into your concentrate.
- Second Strain (Fine): Now, for a truly clear, sediment-free cold brew, we’ll filter again. Line your fine-mesh sieve with a paper coffee filter (or several layers of cheesecloth). Place this over your final storage container. Slowly pour the liquid from your first strain through this filter. This step can be slow, especially as the filter clogs with fine silt. Again, do not press the grounds or the filter. Let gravity do its work.
You now have homemade cold brew concentrate!
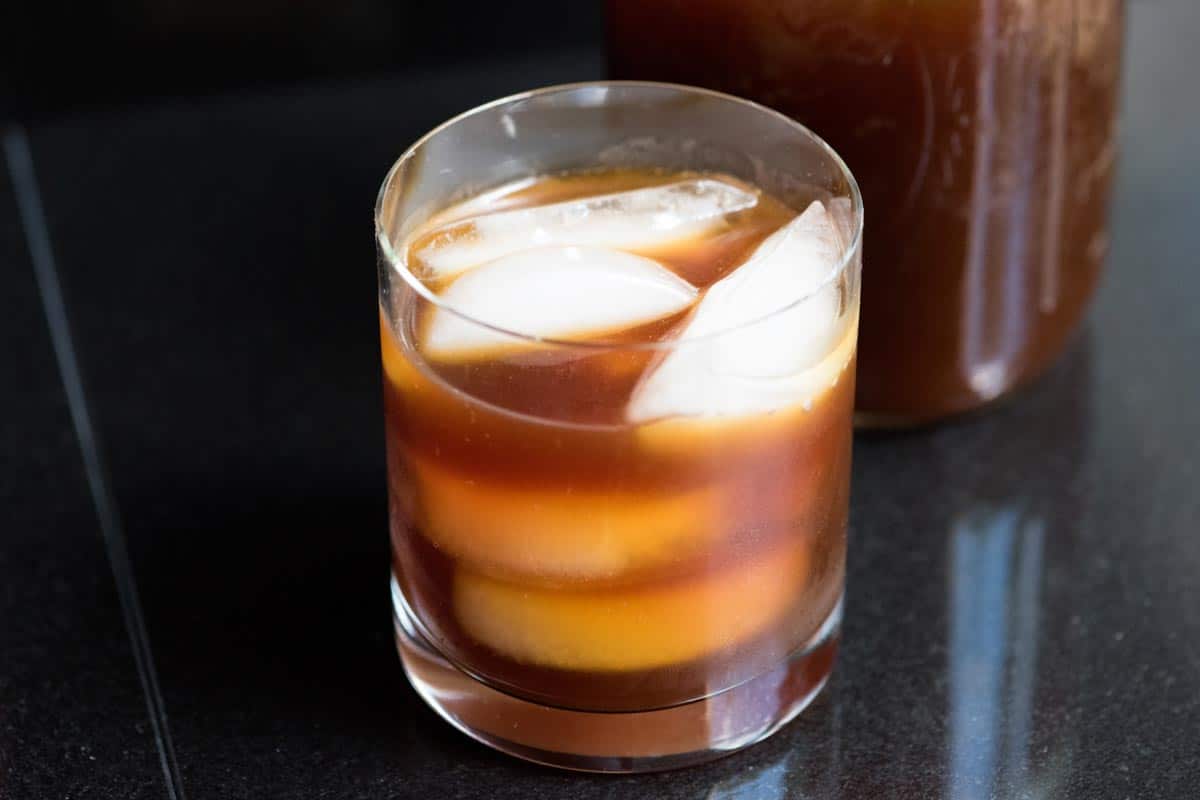
Step 5: Dilute and Enjoy!
Your cold brew concentrate is potent! It’s meant to be diluted before drinking.
- Standard Dilution: A good starting point is a 1:1 ratio – equal parts cold brew concentrate and water or milk.
- To Taste: Adjust the ratio to your preference. Some prefer it stronger (less dilution), others milder (more dilution).
- Serving Suggestions:
- Pour over ice and dilute with cold water for a crisp, refreshing black coffee.
- Add your favorite milk or milk alternative for a creamy treat.
- Sweeten with simple syrup, honey, or your preferred sweetener.
- For a hot cup: Dilute your concentrate 1:1 with hot water and heat gently in the microwave or stovetop (do not boil).
Pro Tips for Your Best Batch Ever
To truly nail your
perfect cold brew coffee recipe, consider these additional tips:
- Freshness Matters: Always use freshly roasted whole beans, and grind them just before brewing. Stale beans or pre-ground coffee that's been sitting will never yield the best flavor.
- Consistency in Grind: Invest in a good burr grinder if you can. It provides a much more consistent coarse grind than blade grinders, which tend to create an uneven mix of coarse and fine particles. This consistency prevents over-extraction of fines and ensures a cleaner brew.
- Don't Over-Stir: During the initial mixing, a gentle stir is enough. Excessive stirring during the steeping process can agitate the grounds too much, potentially leading to more fines in your brew.
- Storage: Once filtered, store your cold brew concentrate in an airtight container (like a clean Mason jar) in the refrigerator. It will stay fresh and delicious for 1-2 weeks, making it perfect for meal prepping your coffee.
- Experiment: Don't be afraid to play with ratios, steeping times, and different coffee beans. What's "perfect" is ultimately subjective. Keep notes on what you like best!
- Flavor Infusions: For an extra kick, try adding spices like cinnamon sticks, cardamom pods, or a strip of orange peel to your cold brew during the steeping process. Just be mindful not to overpower the coffee's natural flavor.
Conclusion
Making your own cold brew at home is a rewarding, cost-effective, and incredibly simple process that yields consistently delicious results. With just a few basic items and a little patience, you can create a smooth, low-acid coffee concentrate that’s ready when you are, eliminating bitter sips and hurried mornings. By following this guide, you now have all the knowledge and the
perfect cold brew coffee recipe to confidently brew your best cup yet. So grab your beans, gather your jar, and get ready to enjoy the ultimate homemade cold brew experience!